
Installing a cedar fence takes careful planning, the right materials, and solid execution from start to finish. This guide walks through each step of the process so you know exactly what to expect. A local fence company can handle this project for you, but understanding the full process helps you make informed decisions along the way. We’ll cover site prep, material selection, post installation, panel assembly, gate setup, and finishing touches. By the end, you’ll have a clear picture of what goes into building a durable and good-looking cedar fence.
Site Preparation
Before any installation begins, the site needs a thorough inspection to ensure it’s level and free of anything that could get in the way. A level surface is key to getting a professional, structurally sound result, something any experienced cedar fence company prioritizes from the start. Use a level and measuring tools to check everything twice. Remove any large rocks, tree roots, or debris that might cause problems down the road. Plan the fencing layout and mark the locations of each post. Taking time to properly prep the site reduces headaches during construction and sets you up for a smooth installation.
Material Selection
Picking high-quality cedar makes a real difference in how long your fence lasts and how good it looks. Carpentry Tacoma WA professionals specialize in often starts with careful material selection, because the quality of the wood directly affects durability and appearance. Cedar naturally resists decay, insects, and rot, which makes it a solid choice for outdoor fencing. When selecting boards, go for straight ones with minimal knots and a tight grain pattern. This gives you better structural integrity and a cleaner finish. Consider the thickness and width of the boards based on your project’s needs. Handpicking premium cedar materials means your fence will hold up well and look great for years.
Post Installation
Getting the posts right is one of the most important parts of the whole project. Each post needs to sit securely in the ground at the right depth to handle weather and wear over time. Use a level to confirm each post stands perfectly upright, and brace them in place until the concrete fully sets. Give the concrete enough time to cure before attaching the fence panels. Check each post for alignment and make any necessary adjustments. Once the posts are locked in place, you’ve built the foundation for a sturdy cedar fence.
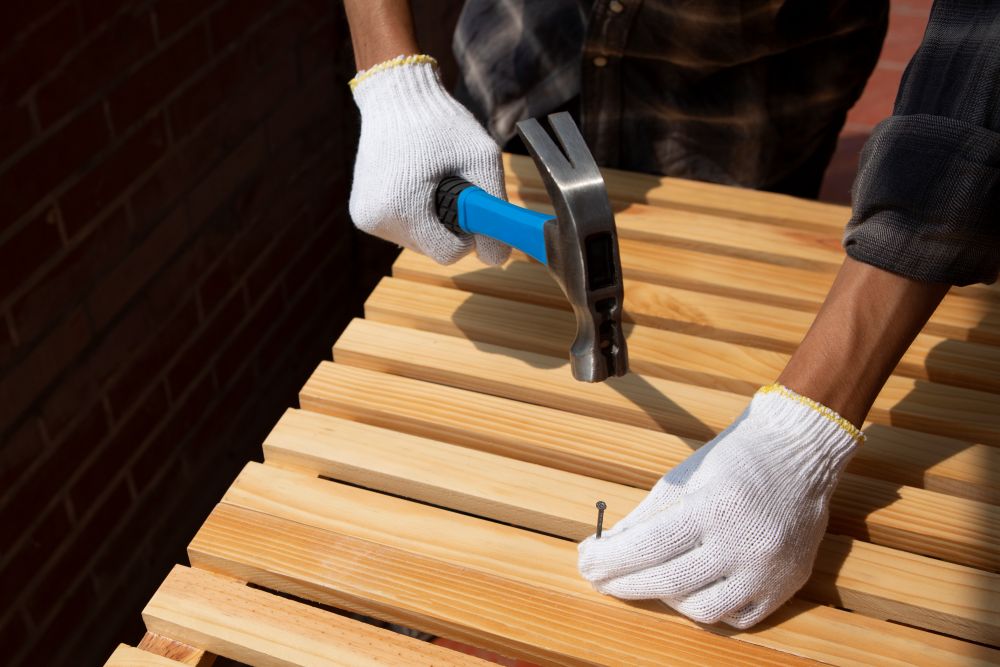
Panel Assembly
After the posts are set and the concrete has cured, it’s time to assemble the panels.
- Attach Rails: Secure the top and bottom rails to the posts using the right screws or nails.
- Space Pickets: Keep equal spacing between each picket for a clean, uniform look.
- Fasten Pickets: Attach the pickets to the rails with galvanized nails or screws.
- Check Alignment: Regularly verify that the panels line up straight for a consistent appearance.
Following these steps carefully gives you a well-built cedar fence that looks good and adds security to your property.
Gate Installation
Proper alignment and accurate measurements matter most during gate installation, especially for driveway gate installation Tacoma WA experts handle on a regular basis. Start by attaching the gate hinges to the gate, making sure they’re level and evenly spaced. Mark where the hinges will go on the fence post so everything lines up. Pre-drill holes for the screws to avoid splitting the wood. Once the hinges are secured to both the gate and the post, test the gate’s swing to make sure it opens and closes smoothly. Adding a latch or lock for security wraps up this step. Paying attention to the details here gives your cedar fence a professional, functional finish.
Finishing Touches
A few final details can take your cedar fence from good to great. Consider adding decorative post caps to improve the overall look and protect against weather damage. Here are some finishing touches worth considering:
- Stain or Seal: Apply a quality stain or sealant to protect the wood from moisture, UV rays, and rot.
- Trim Work: Add trim along the top of the fence for a more polished appearance.
- Gate Hardware: Install sturdy, good-looking hardware for smooth gate operation.
- Landscaping: Finish off the area around the fence with plants or gravel to complement the cedar’s natural look.
Related Topics: